Knit Design Tips—10 Steps to Self Publishing a Pattern April 4, 2016 13:05 3 Comments
 Self publishing can be a pretty lucrative way of publishing knit or crochet patterns, because you—as the designer—earn 100% of the profits. However, it also means that all the expenses to create the finished pattern also come out of your pocket.
Here are the steps I take each time I self-publish a new pattern. I'm sharing this as a guide that I use. Each designer may do things differently, so take from it what suits you, and leave the rest.
If you're not a designer, and/or have no interest in doing your own self-publishing, I suggest you take a read through this anyway to see exactly what goes into one of those pdfs you download for your crafty projects.
Step 1: Conceptualize, Sketch & Swatch
Similarly to how I prepare a design for submission to a third-party publisher, I'll make a sketch, photograph it and get it onto my pin-board for a quick visual reference. I'll swatch using the yarn and needle size to produce a swatch that I like, then wet-block it, dry it and photograph it. If I'm not writing the pattern right away, I'll jot down some notes about how I envision the construction, when I plan on publishing it, etc. I generally give myself at *least* 4 months to get everything done before publication. 5–6 months is more ideal, but it *can* be done in 4 if I push it.
Step 2: Find a Sample Knitter
I hire sample knitters for all of my published designs these days, even the self-published ones. I have about a dozen sample knitters who I work with on a regular basis. From them, I find one who is interested and available to knit this sample then send them some yarn. If you're interested, here is a post about my sample knitter hiring process. I often give my sample knitter 4–6 weeks to complete the project, so I can check it and send it to my photographer with enough time before publishing.
Step 3: Source the Yarn
I tend to work with a handful of my favorite eco-friendly yarn companies for my self-published designs, and because I've been designing for over 10 years and have an established reputation in the knitting industry, I don't have much of an issue getting yarn support from these and other yarn companies.
However, when I just started out, my requests for yarn support were often denied. When that was the case, I would hunt for a good deal on the yarn I was hoping use and spend the money out of pocket for the quality yarn. Keep in mind, though, that even though you may be denied *free* yarn from a yarn company, they may still offer the yarn to you at wholesale price. So, it's still worth asking for the discount.
When I email a request to a yarn company for yarn support, I include as much information about the design as I know. I prepare a design submission, as if I were to submit the design to a publisher, and include information like when I plan on publishing the pattern in the e-mail. Making your request as professional as possible will heighten the likelihood that they will agree to send the yarn. If/When they agree to send me yarn, I ask the yarn companies to ship the yarn right to my sample knitter, to save some time and shipping costs.
Step 4: Write the Pattern
Once my sample knitter receives the yarn, I'll e-mail her some swatching information. From that swatching info, she swatches, washes and dries her swatch then measures the gauge. I write the pattern to match the gauge that my sample knitter gets. I find this saves the sample knitter time from having to knit swatch after swatch, to get a pre-determined gauge.
Step 5: Double Check the Pattern Against the Finished Garment
When the sample knitting is completed and I receive the finished garment, I double check the gauge and measurements, then make any necessary adjustments to the pattern. It's not rare for the finished gauge to be slightly tighter, or for length measurements to be slightly different from what I intended. My sample knitters do their best to be as accurate as possible, though I find it's still important to double check to be sure that the pattern I'm publishing matches the sample.
Step 6: Send Garment for Photography
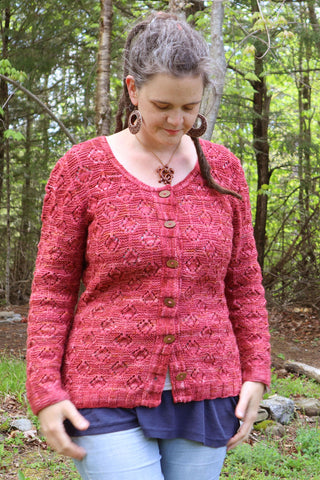
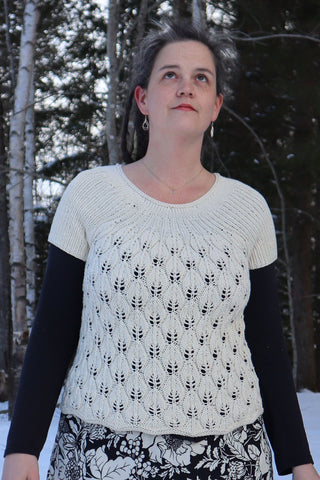
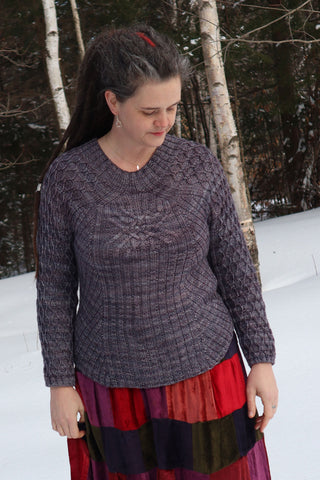
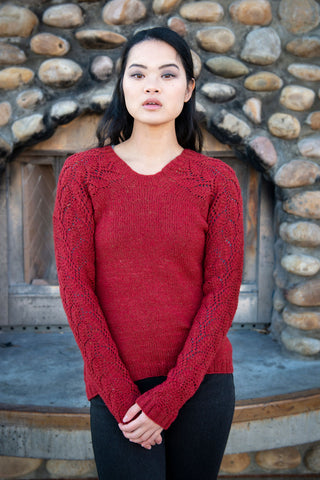
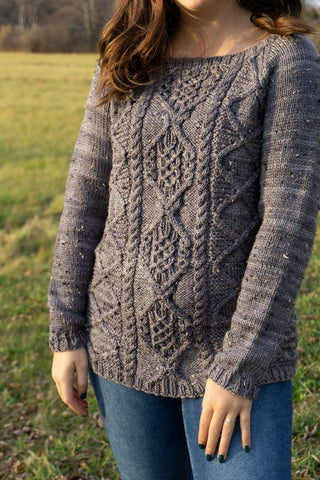
Once I have all the info I need from my sample garment I mail it away to my photographer—Carrie Bostick Hoge. She and I have been friends since we worked together at Classic Elite Yarns, back in the day, and I am entirely grateful for the beautiful photos that she creates for me from my garments.
Though, I realize not everyone has an awesome photographer friend who they can mail their knits to. There is a lot of information out there about photographing your own garments. And, since I'm not a photographer, I'm not going to pretend that I'm good at it and offer you any advice. I would recommend you do a little research into tips and techniques from existing well known knitwear photographers. Gale Zucker comes to mind. She is one who teaches popular classes on knitwear photography.
Step 7: Graphic Design
In my own opinion—A well laid-out finished pattern can make or break the type of experience a knitter (or crocheter) has while they're following it. Is it easy to find the stitch patterns when they are neede, or the abbreviations? Where is all the material and necessary information they need to know before they get started? Does the photo placement make sense with the text that is nearby? Are the font size, shape and color readable? These are just a few of the questions I ask myself as I'm putting together the text and photos into my pattern template.
Back when I was deciding what to do for college, there must have been a part of me that knew I'd be doing this some day (who knows?). Because, I got my BFA in graphic design. My own self-publishing is really all I use it for these days. Before you come asking me to do it for you though: I don't have any interest in taking on graphic design for anyone else. I'd much rather spend my time doing knit design, to be honest.
While this is something you may be tempted to do yourself, I don't recommend it unless you have a layout editing program (probably not Microsoft Word) on your computer and some experience with visual layout / desktop publishing. It's my opinion that patterns that have some mindfulness put into exactly where each element is placed appear more professional, are easier to navigate, find crucial information and are more aesthetically pleasing to the user.
Fortunately—It seems that there are many graphic designers available these days, who are dedicated to taking on knit and crochet designer clients! I see their ads all the time in the Ravlery designer groups. Since I haven't used any of their services, I'm not sure who to recommend. But, if you do a little searching, it's possible that you'll find one that feels right to you, and your wallet.
Step 8: Send Pattern to Tech Editor
Tech editing is SOOooo important for the accuracy of a pattern. A tech editor can often see things in the pattern that the designer may easily overlook, and that test knitters may not think to check. A good tech editor will check all the math, including gauge, yardage, yarn requirements and schematic measurements. They can visualize the knitting of the project from cast-on to bind-off to be sure the whole pattern makes sense as it's being knit.
I'm a tech editor as well as a designer, but I still rely on a second set of eyes to look over a pattern before I click the publish button. I'm not currently taking on any new designers at the moment, however you can find a long list of tech editors here or here on Ravelry. I recommend finding one with a lot of experience, and paying the higher rate that they ask. I think it's worth it for their expertise and the quality of their editing.
Step 9: Test Knitting
I usually try to begin the test knitting process about 2 months before I plan on publishing the pattern. This gives the testers ample time to complete the test, and for me to make any edits to the pattern before it's published and released to the public. I begin test knitting after the graphic design, but sometimes (not always) before tech editing. Occasionally the tech editing happens while the test knitting is still ongoing, and I update the testers if anything important is found.
When I first began self publishing I didn't bother with test knitting, but I've discovered how crucial and beneficial it can be to the success of a new pattern. Here are some of the reasons I love test knitting:
• Testers give me first-hand, hands-on feedback about the pattern and layout, letting me know where possible stumbling blocks are so I can clarify with illustrations or better instructions.
• Testers will link their completed projects to the pattern page on Ravelry so there are completed projects and public feedback for knitters to look at when considering if they want to purchase the pattern. It shows that the pattern has been knitted by someone other than just the designer and is encouraging for someone who might be considering it.
• It's free! And it only takes a little bit of my time. Plus, it's pretty fun. It's like a secret Knit-A-Long for the pattern before it's released.
• I also ask my testers to post in-progress photos on Instagram and Twitter using a hashtag that I mention in the pattern. That way anyone who visits the hashtag will have something to look at.
• I really enjoy being involved with the process as a bunch of knitters or crocheters are working on one of my patterns. It helps me feel connected with my target audience.
If you're interested in being one of my pattern testers, take a look at the FAQ's, and sign up to receive calls for Pattern Testers via email.
Step 10: Publish & Marketing
Once all that is done, and it's ready to go I do a little happy dance in my head, then I have a whole to-do list that I use whenever it's publish time for a new pattern.
Here. I'll share it with you:
• Publish on Ravelry, Etsy, LoveKnitting and my own website.
• Set up coupon codes on Ravelry and my website for Patreon supporters.
• Schedule social media posts using Buffer and Latergram for ones to be posted soon and Twuffer for ones that don't require images for later on.
• Use Mailchimp to create a blast e-mail to send out to all my subscribers and Patreon supporters telling them about the pattern and giving them their coupon codes.
• I gift the completed pattern to any of my test knitters and my sample knitter.
• I post about the new pattern in the designer groups on Ravlery
• I create collage images for my homepage, Twitter and Facebook covers.
• I create a group ad to run on Ravelry.
Summary
Because I do my own graphic design and I have a trade agreement worked out for the photography, I only have to pay for the sample knitting, which can range from $80 – $160 for a sweater; and the tech editing, which is usually $35 – $140. Costing me around $115 – $300 per published design. I aim to publish one pattern every 8 weeks.
Leave a Comment
Was this information helpful to you?
Is there anything I mentioned that you would like to know more about?
Do you self publish—I'd love to hear more about your process in the comments below!


 Nothing will be posted on your behalf.


Comments
Christine P on October 28, 2019 09:58
What about copyright? Do you worry someone else has the same design?
MrsB on October 28, 2019 09:58
Three books on knitwear designing might be helpful:
1. Design Your Own Knits by Debbie Abrahams
2. The Beginner’s Guide to Writing Knitting Patterns by Kate Atherley
3. Knitwear Design Workshop: A Comprehensive Guide to Handknits by Shirley Paden
Linda on March 26, 2019 10:22
Dear Kristen
Your tips are wonderful and inspirational for would-be designers, of which I am one. Thank you very much indeed. What you have written (sadly) does not seem to be readily available anywhere else.
I would like to know more about
sketching a design, particularly as I cannot draw (and i know that others are stymied by the same “affliction”! I have a great design in my head but whenever I try and sketch it, the outcome is horrendous and nothing at all like I had visualised. Secondly, but still relevant to the above, are schematics. It looks like there may be specialist software for that . . .? how to price a patternIf you could cover any of these elements I would be very grateful,
Best wishes,
Linda